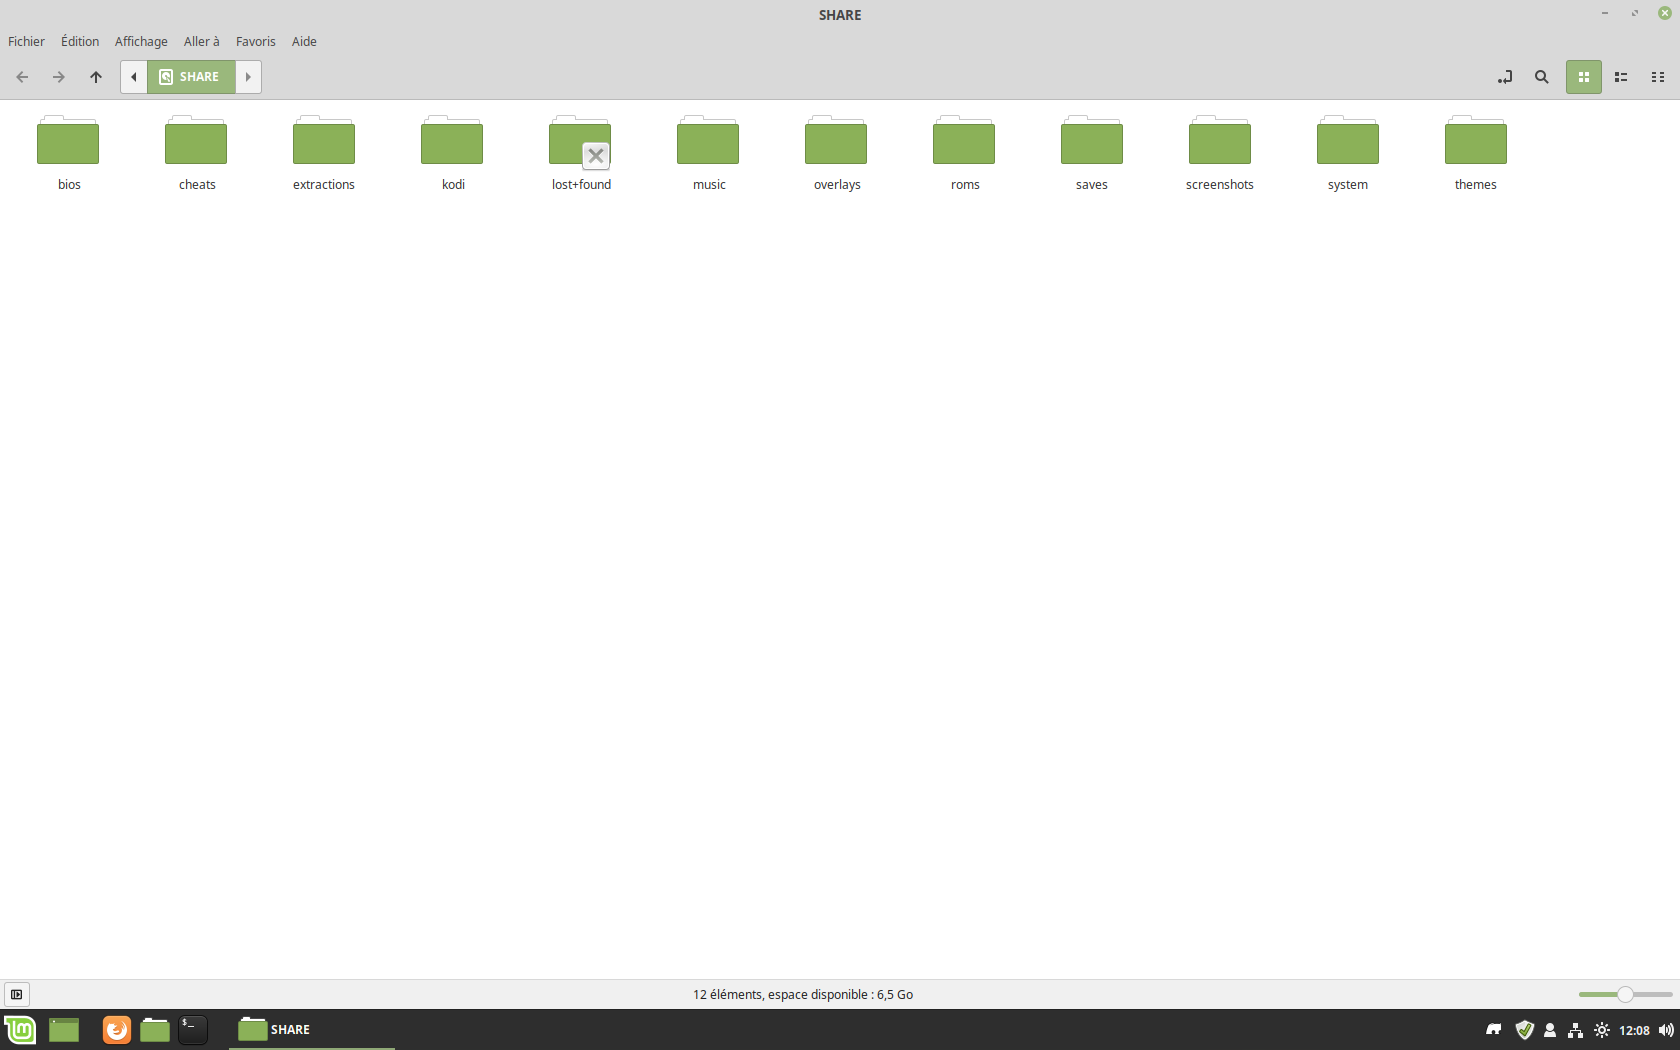
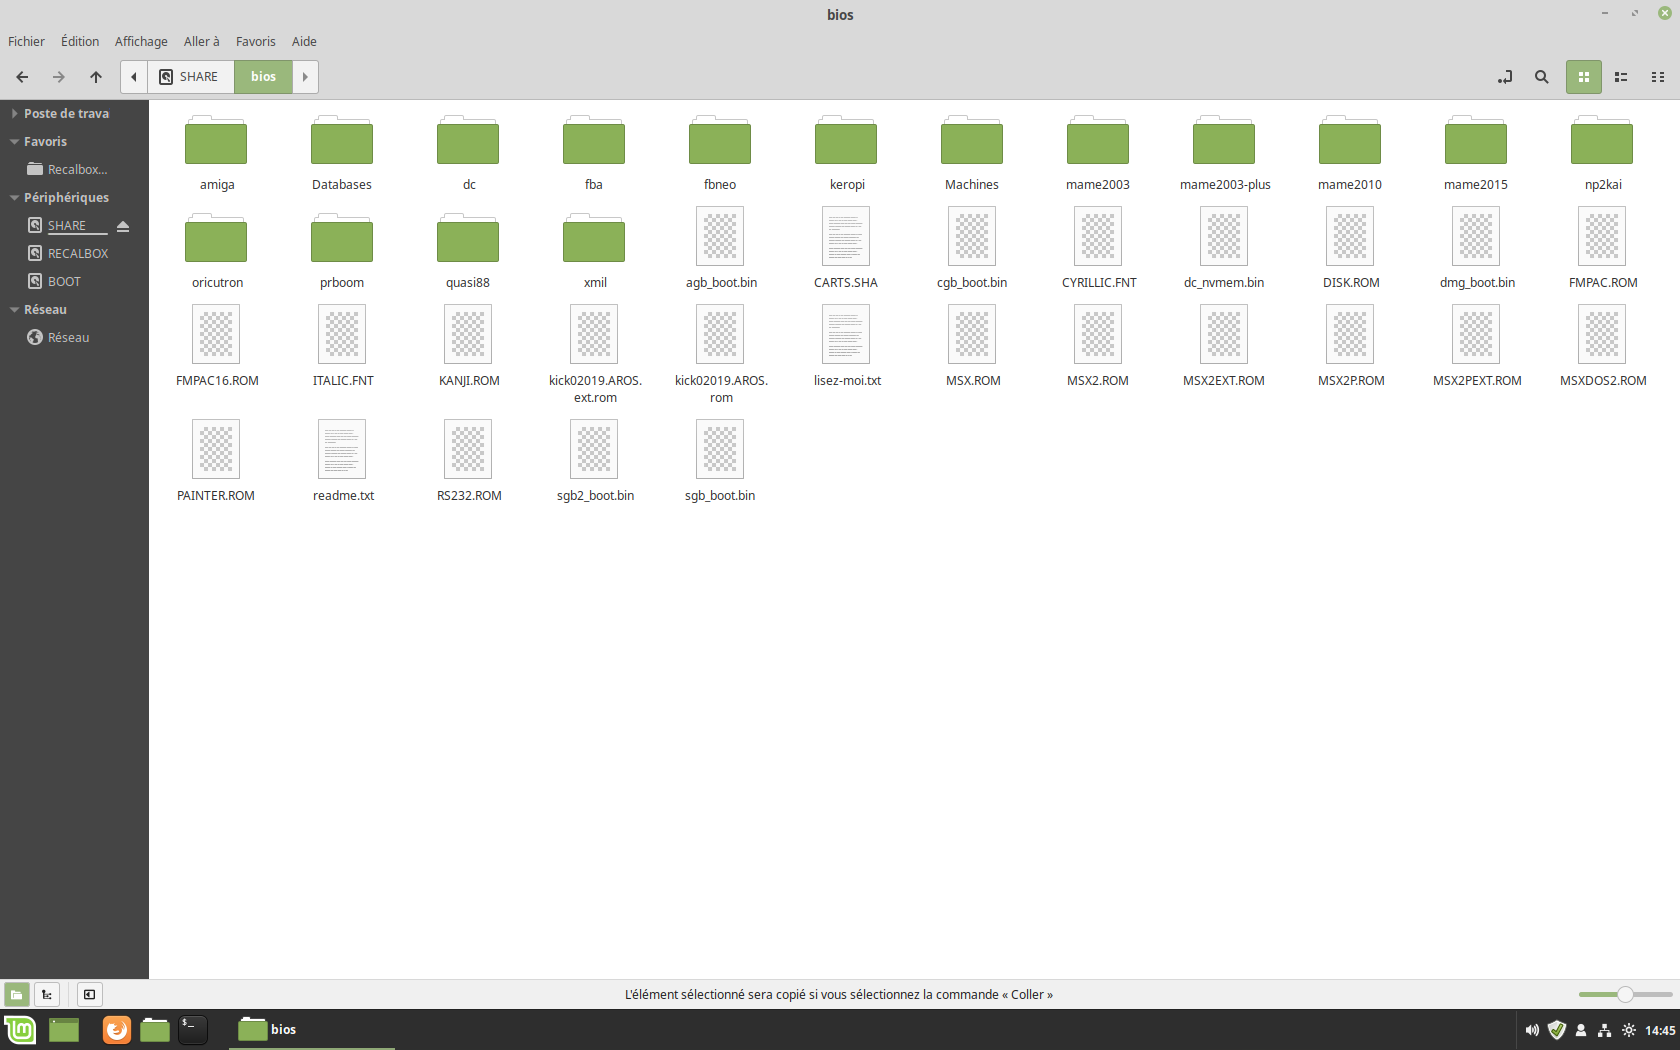
Recalbox allows you to manage your files via the "share" folder.
You have two possibilities:
- In direct connection
- Through the network
¶ "Share" folder
The "Share" folder is the one that allows you to manage the content of your Recalbox, it is available via the network.

It consists of several directories:

- bios
Put here bios that Recalbox needs, you can check the list of required bios via EmulationStation (START > BIOS CHECK).
Some emulators require the bios to be in a subfolder or an extra copy in its roms directory. Refer to the documentation for each emulator.
- bootvideos
Put here the videos you can see when you turn on or restart your Recalbox.
- cheats
Content of the cheats that can be downloaded via the RetroArch menu.
- extractions
Directory where your zipped roms are extracted before launching the game.
- kodi
Place here the media you want to integrate to Kodi in the corresponding subdirectories: music, movie, picture.
- music
Place your files here to replace the default background music in EmulationStation.
The files must be in
.MP3or.OGGformat and have a sampling rate of 44100Hz and a bitrate greater than 256kb/s.
- overlays
Place your overlays here to dress up the edges of your screen when a game is running.
- roms
Place your roms here in the subdirectories corresponding to the desired console.
- saves
Directory where your game saves are stored.
- screenshots
Directory where your game screenshots are stored.
- shaders
Directory where your system shaders are stored.
- system
Directory for Recalbox configurations and system.
- themes
Place your themes for your Recalbox's EmulationStation interface here.
- userscripts
Directory where your personal scripts can be stored.
¶ File transfer
To add your files (roms, game saves, bios, scrap data etc...) on your storage device, you have two possibilities:
¶ Direct connection
- Connect your storage device to your computer.
- Open the file explorer on your operating system.
- Go to the tab listing your devices.
- Select the name of your storage device, then the
recalboxdirectory and finally thesharedirectory. - Copy your files to the desired directory.
- Once the transfer is finished, you just have to connect your device to your Recalbox, turn it on and play.
¶ Via the network
When you set up your wifi or connect a network cable to Recalbox, it automatically shares folders on the local network.
- Once your machine is connected via wifi or Ethernet cable, open the file explorer on your operating system.
- Go to the Networks tab, then
recalboxand finallyshare. - Copy your files to the desired directory.
If you don't see your Recalbox on the network, try typing ``RECALBOX'' in the address bar of File Explorer.
If that still doesn't work, get your IP address. Then type your IP address in the address bar of the file explorer. (For example : \192.168.1.30).
If that still does not work and you are on Windows 10 or Windows 11, you can also follow this tutorial.
¶ To make the additions appear:
-
Update the list of games:
- EmulationStation menu with
START. UI SETTINGS.UPDATE GAMES LISTS.
- EmulationStation menu with
-
Restart your Recalbox:
- EmulationStation menu with
SELECT. - Select
RESTART.
- EmulationStation menu with
¶ Add content
¶ Adding games
You just need to copy your roms files to the directory corresponding to the console.
Example for the Super Nintendo:
/recalbox/share/roms/snes/
You can use compressed roms (.zip, .7z) or uncompressed roms depending on the emulator.
For more information on the roms formats that are supported by an emulator, please see the
_readme.txtfile in each roms folder.
¶ Adding bios
Some emulators require a bios in order to emulate games properly.
- If you want to add a BIOS to your system, open the shared
biosfolder via Samba or go directly to/recalbox/share/bios/. - The majority of systems have their own bios folder. You need to follow the given indications in the Bios Manager.
- Your BIOS names and their MD5 signature must match the list in the Bios Manager.
To check the MD5 signature of a BIOS, refer to the following page.
For the Neo-Geo, you need to add the bios
neogeo.zipin the bios folder or in the roms folder of the emulator with your Neo-Geo games/recalbox/share/roms/neogeoor/recalbox/share/roms/fbneo.
For the Neo-Geo CD, you need to add the biosneogeo.zipandneocdz.zipin the/recalbox/share/bios/folder.