Here are some questions about using the Macintosh system.
¶ Setting the system screen to two colors
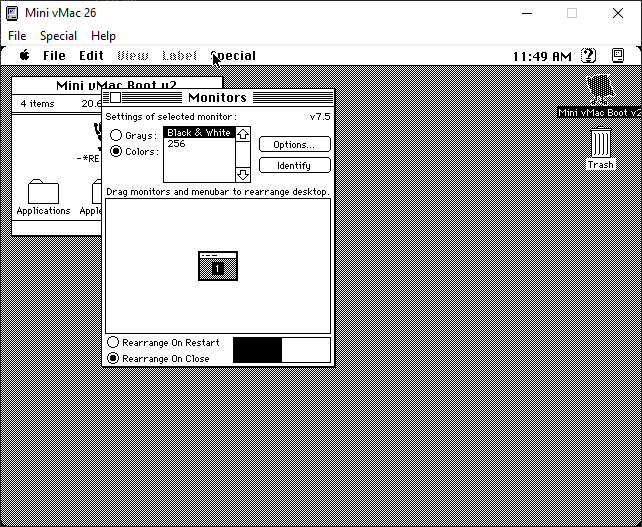
Some older Macintosh games will ask you to set the system screen to two colors (black and white).
It may happen, however, that the MinivMac BIOS file doesn't include the utility for setting screen colors.
To solve this problem, you'll need to modify the MinivMacBootv2.dsk file using the Mini vMac emulator.
¶ You'll need :
- a PC to perform the operations
- MinivMacBootv2.dsk and MacII.ROM files
- Installation discs for System 7.5.
- Mini vMac emulator (available here: https://www.gryphel.com/c/minivmac/dnld_mii.html)
¶ Steps to follow
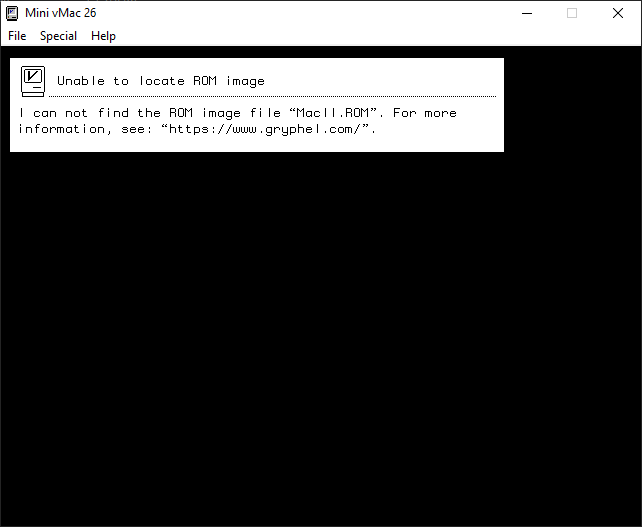
- Start Mini vMac. If Mini vMac displays the message "Unable to locate MacII.ROM", drag the file into the directory where you extracted Mini vMac.
- If the file is detected, you'll hear a short beep. Open the file "MinivMacBootv2.dsk". You can either drag and drop the file into the emulator, or open it via the "File > Open Disk Image" menu.
- Insert the first installation diskette. The contents of the diskette will open.
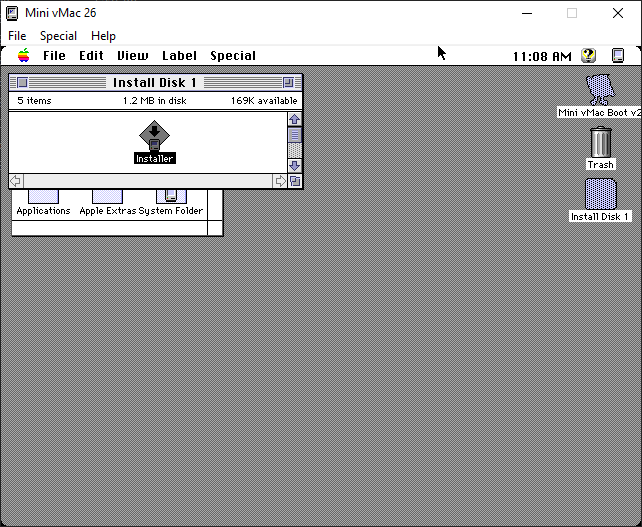
- Click on the "Install" file. The installation program starts. Click on "Continue".
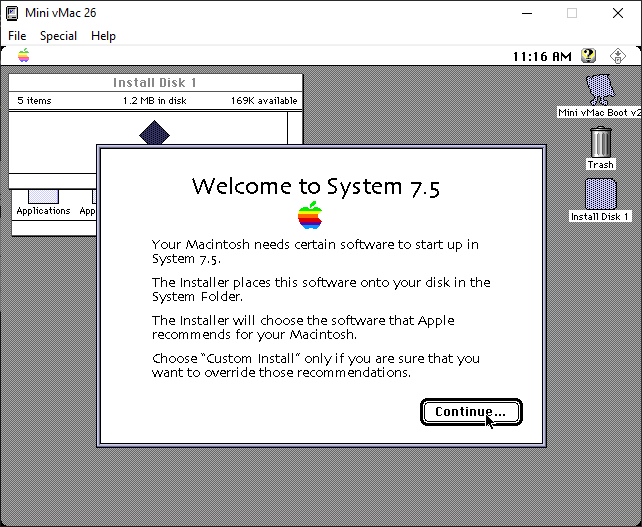
- To install the utility you need, select "Custom Install" from the drop-down menu in the top left-hand corner.
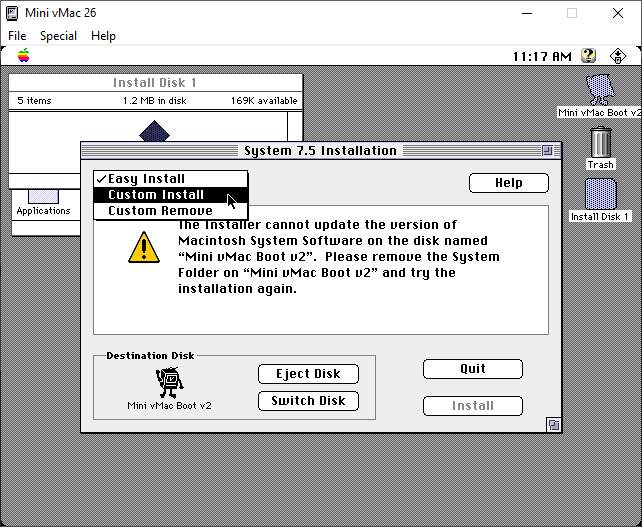
- Look for "Control Panel", then click on the triangle on the left to expand the options. Then check "Monitors". Finally, click on "Install".
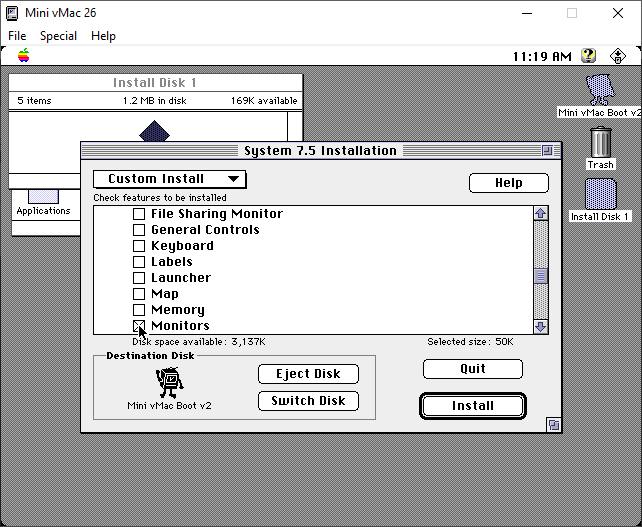
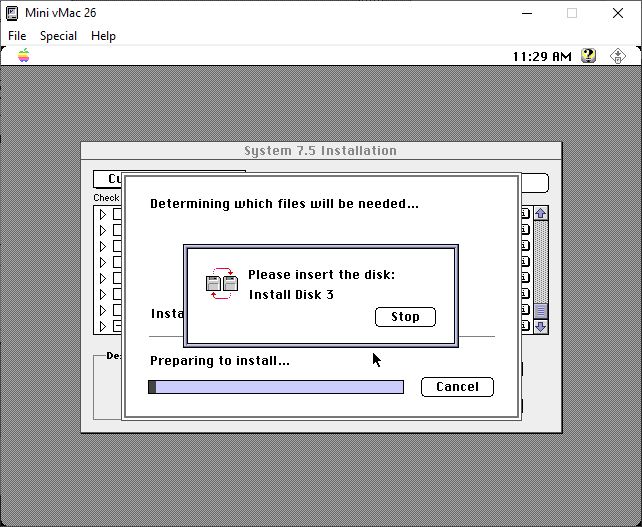
- The installer prompts you to insert diskette 3. Drag and drop the diskette 3 file into the emulator or open the file.
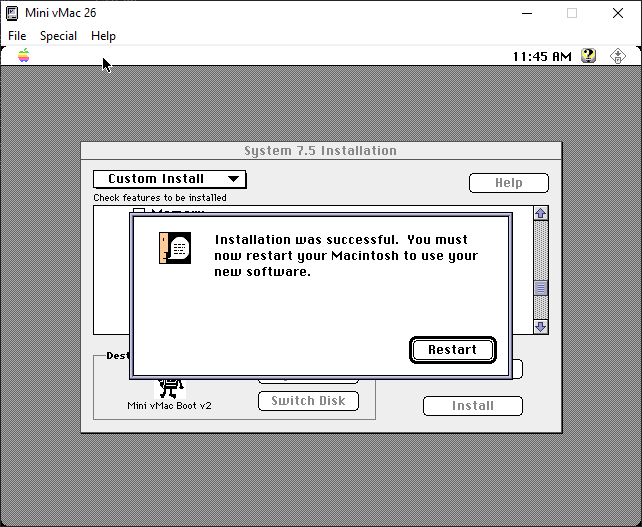
- The program indicates that the installation was successful. It asks you to restart the system. Click on "Restart". The emulator may take 1 to 2 minutes to restart the system. If a floppy disk icon appears during restart, open the "MinivMacBootv2.dsk" file again.
- You can check that the utility has been installed by clicking on Apple > Control Panels > Monitors. If it is, you can shut down the virtual machine (Apple > Shut Down).
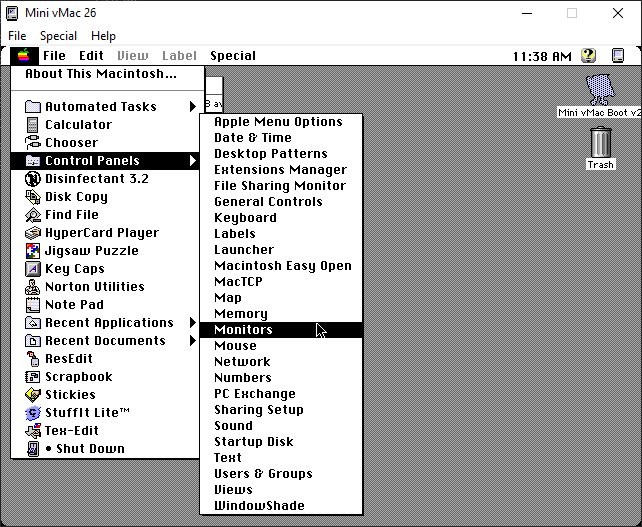
- You can now copy and replace the MinivMacBootv2.dsk file on your Recalbox, in the bios folder. When a game asks you to switch to two colors, open the "Monitors" control panel and click on "Black & White". Let's play!
