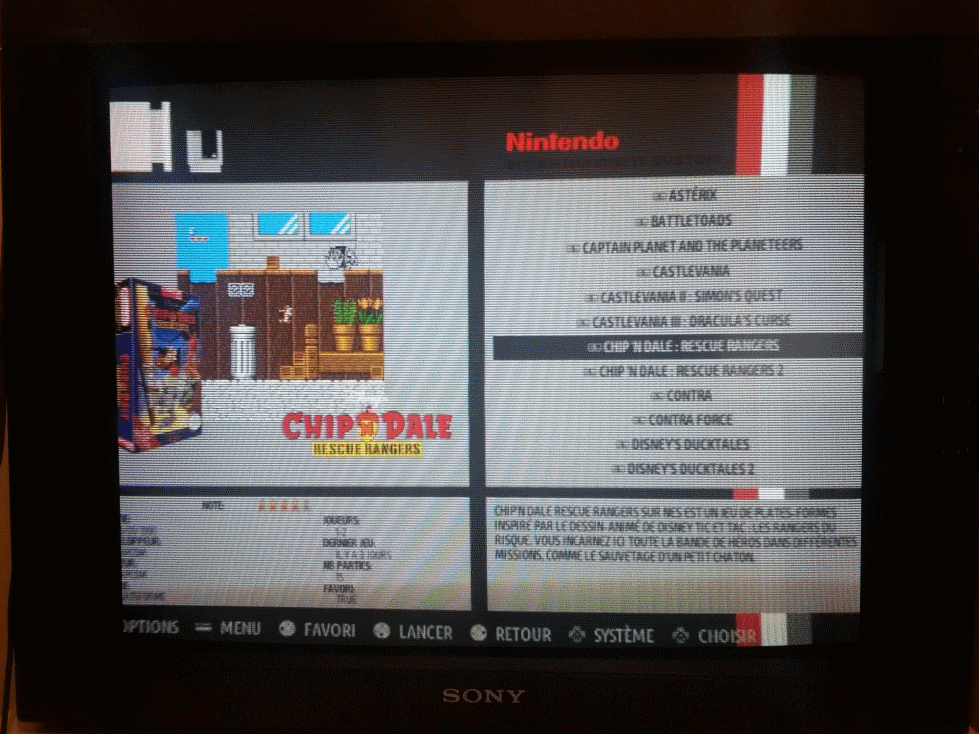
To play the Recalbox on a CRT screen connected in HDMI, several choices are possible, depending on the screen's connections.
- Connection via the HDMI socket using an HDMI / VGA adapter ==> VGA / BNC
- Connection via the HDMI socket using an HDMI / VGA adapter ==> VGA / SCART
¶ Hardware
¶ Connect your Recalbox to a CRT monitor with RGB BNC input, via HDMI
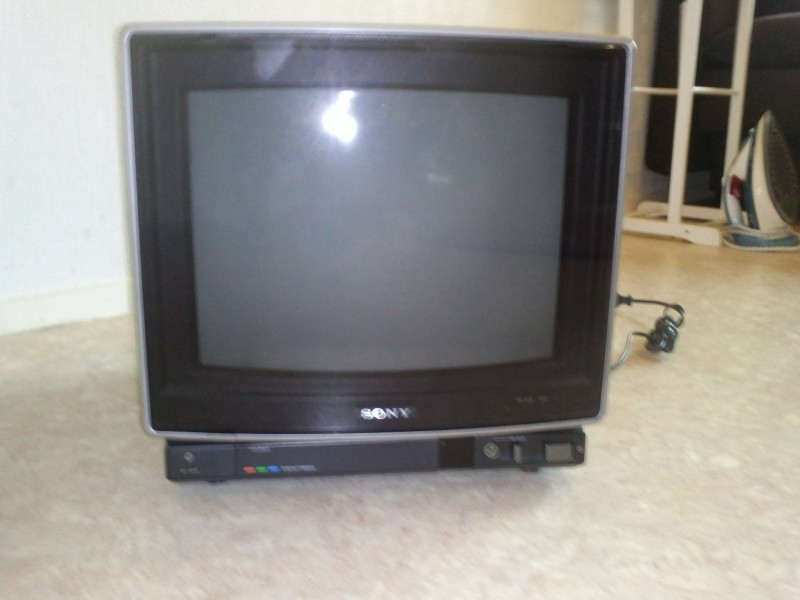
Many professional CRT screens have RGB input in BNC, like on this picture in Line 3 (Input).
- We will have 3 wires for the 3 colors (Red, Green, Blue), as well as 2 wires for the synchronization (vertical and horizontal)
¶ Connections
- You will need an adapter like this one.
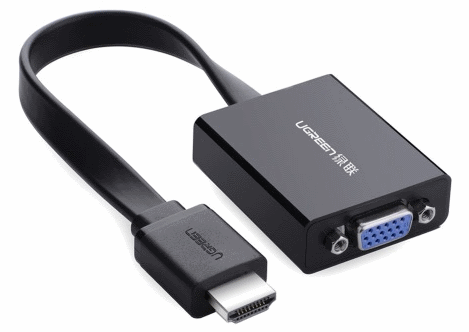
- Once connected to the HDMI port of your Recalbox, you will have a VGA output jack, and an audio jack.
You will need an external micro-usb power supply, 1A should be enough.
- You will then need a VGA ==> BNC adapter like this one.
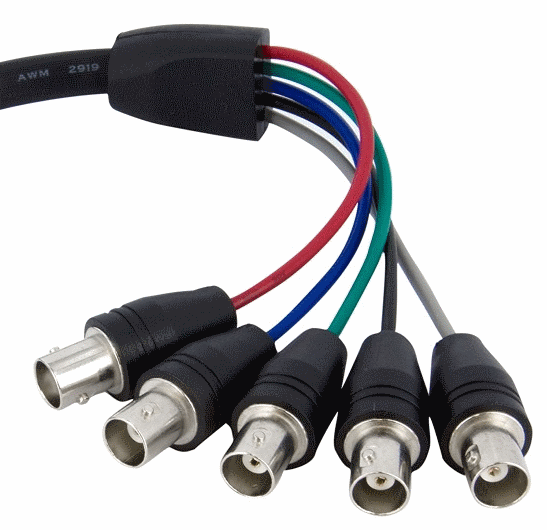
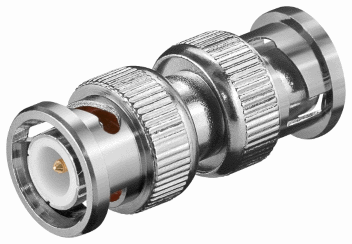
- Not having found a VGA to BNC adapter with a female BNC output, I had to use 5 BNC male to male connectors, which can be found in specialized electronics stores.
¶ Software
¶ Recalbox boot configuration
The resolutions accepted by this type of screen are different depending on the model, but in general, we want :
- 480i for EmulationStation (my monitor does not support 480p, and text is unreadable in 240p).
- 240p for games (output resolution for almost all consoles of that time).
This is what your recalbox-user-config.txt file should look like :
# DMT 87 HDMI custom mode resolution setting for game resolution
hdmi_cvt=1920 240 60 1 1 0 0
# Ignore the EDID of your TV (CRT can send wrong information)
hdmi_ignore_edid=0xa5000080
# Force the pixel encoding mode, 2 corresponds to Full RGB
hdmi_pixel_encoding=2
# Disable safe mode at raspberry pi boot
avoid_safe_mode=1
# Do not disable overscan
disable_overscan=0
# Avoid adapter interference by boosting the HDMI signal
config_hdmi_boost=4
# Force sound on HDMI
hdmi_drive=2
# Selects the HDMI CEA group
hdmi_group=1
# CEA resolution 6 = 480 interlaced
hdmi_mode=6

# Kernel used
kernel=zImage
# Use HDMI mode even if no cable is connected
hdmi_force_hotplug=1
# memory settings
gpu_mem_256=128
gpu_mem_512=256
gpu_mem_1024=512

# Audio related parameters
dtparam=audio=on
# Allows to delay the boot
boot_delay=3
Some explanations:
- The Raspberry Pi will boot in
hdmi_group=1andhdmi_mode=6, which corresponds to 480i (interlaced). - If the boot is done directly in 240p, the texts of the menus and the games would be unreadable.
- The line
hdmi_cvt=1920 240 60 1 1 0 0specifies a resolution of 1920 x 240 x 60 Hz, which will not be used for boot, but will be saved asDMT 87 HDMImode, which we will use later for launching games.
Here is a little more explanation of this line:
hdmi_cvt=<width> <height> <framerate> <aspect> <margins> <interlace> <rb>
width        width in pixels
height       height in pixels
framerate    framerate in Hz
aspect       aspect ratio 1=4:3, 2=14:9, 3=16:9, 4=5:4, 5=16:10, 6=15:9
margins      0=margins disabled, 1=margins enabled
interlace    0=progressive, 1=interlaced
rb           0=normal, 1=reduced blanking
¶ Recalbox.conf file configuration
Although the Raspberry Pi boots in CEA 6 video mode (via the recalbox-user-config.txt file), it is better to force this configuration for EmulationStation:
system.es.videomode=CEA 6 HDMI
Next we need to specify the boot resolution for our emulators, globally:
global.videomode=DMT 87 HDMI
All emulators will be launched in DMT 87 HDMI mode (custom mode) containing via the hdmi_cvt of the recalbox-user-config.txt file, the 1920 x 240x 60Hz resolution.
Small explanation for the 1920 pixels wide :
To make it short, a CRT screen only needs a vertical number of pixels (240 here) and a vertical refresh rate (60 Hz here).
We specify 1920 pixels wide, because 1920 is a multiple of 160, 320, 384... which are often met resolutions.
For resolutions that are not multiples, we will have to calculate with RetroArch the overscan, that is to say the black bands necessary around the screen to keep the original ratio.
Everything must fit in this resolution. But you can specify a different resolution per console, with the following line:
dreamcast.videomode=hdmi_cvt 320 240 60 1 1 0 0
¶ RetroArch viewport configuration (keep the original ratio and set the image to its screen)
¶ Configuration by system
When launching a game, it must start in a resolution of 320 x 240 x 60 Hz pixels. We can specify, for each system, the real display size and the offset if needed.
These configuration files are to be created in your shared folder: /recalbox/share/system/configs/retroarch/.
They should contain the system name (the same as in the roms folder), for example: nes.cfg, or mastersystem.cfg.
Here is a sample nes.cfg file:
aspect_ratio_index = "22"
video_smooth = "false"
video_scale_integer = "false"
video_threaded = "false"
custom_viewport_width = "1680"
custom_viewport_height = "224"
custom_viewport_x = "118"
custom_viewport_y = "17"
- To adjust the screen positioning, just change the
custom_viewport_xandcustom_viewport_yvalues directly in game via the RetroArch menu (Hotkey+B), then copy these values into the system's .cfg file. - Here is an example of the heights and widths for CRT:
nes.cfg
custom_viewport_width = "1680"
custom_viewport_height = "224"

snes.cfg
custom_viewport_width = "1792"
custom_viewport_height = "224"

gb.cfg gbc.cfg gamegear.cfg
custom_viewport_width = "960"
custom_viewport_height = "144"

gba.cfg
custom_viewport_width = "1440"
custom_viewport_height = "160"

megadrive.cfg neogeo.cfg segacd.cfg sega32x.cfg fba_libretro.cfg
custom_viewport_width = "1920"
custom_viewport_height = "224"

mastersystem.cfg
custom_viewport_width = "1536"
custom_viewport_height = "192"

psx.cfg n64.cfg
custom_viewport_width = "1920"
custom_viewport_height = "240"

pcenginecd.cfg
custom_viewport_width = "1760"
custom_viewport_height = "240"
¶ Configuration by games
For the arcade, I use fba_libretro. Each game or almost each one having a different resolution, I defined a file per game (to keep the original ratio).
Same handling as per system, except that the files are located in your shared folder: /recalbox/share/system/configs/retroarch/fba_libretro/
The content of the file is identical to the system configuration. The file name must be in the form rom.zip.cfg. For example: 1944.zip.cfg.
¶ Special cases
¶ AdvanceMame
For Mame arcade games, the AdvanceMame core has the particularity to automatically calculate the resolution of each game, adapting it to your screen resolution.
Thus, we do not need to make a configuration per game (as is the case for fba_libretro).
¶ EmulationStation themes
The theme must be made in 4/3 to have a well-framed image, we propose you a theme created by Supernature2K.
This theme is configurable, and fits perfectly to CRT.
