¶ Overview
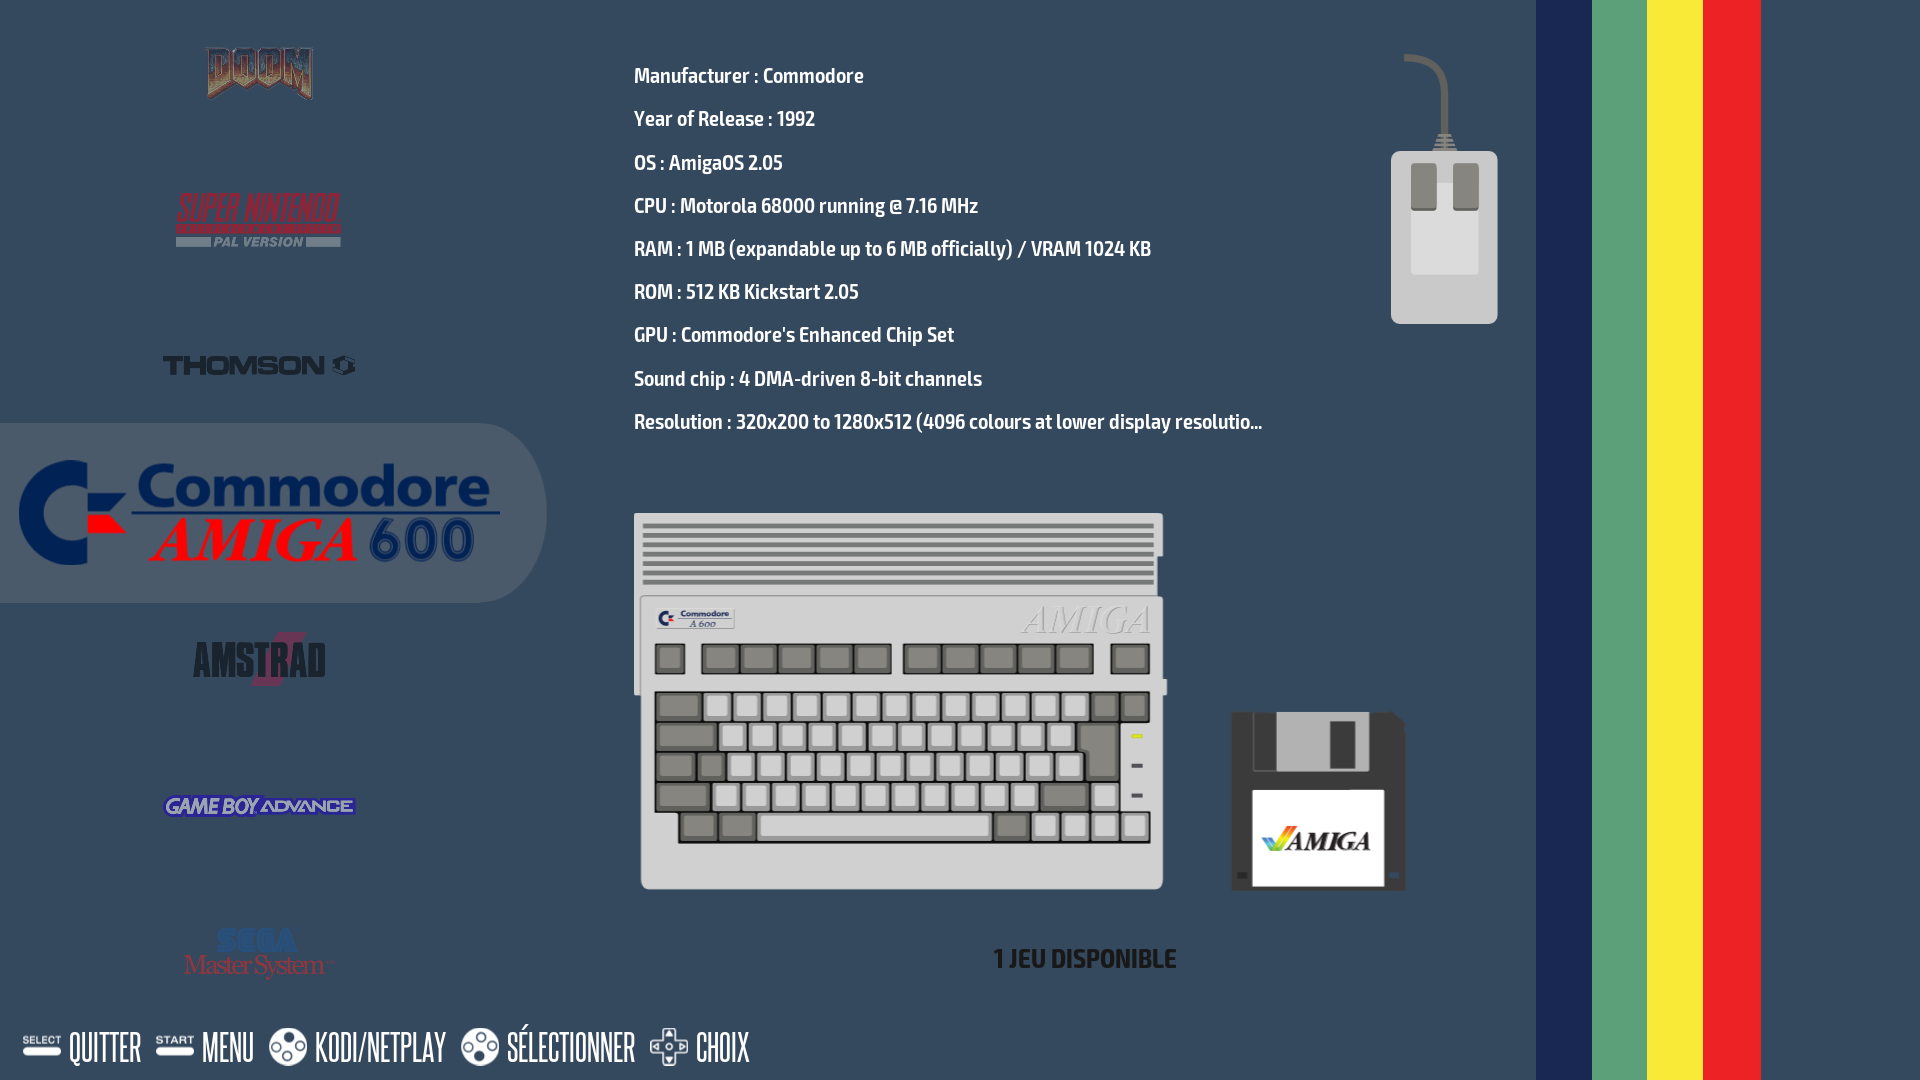
When you turn on your Recalbox, you access the software interface called EmulationStation (ES).
This allows you to launch your games, set some options or update your Recalbox.
¶ System List
The first screen is the system list. It lists the available consoles and systems.

When you select a system, the screen changes and you get to your list of available games.
¶ Game List
A list of games is available for the system selected on the previous screen.
Once the game is started, refer to In Game for available options.
¶ Options in EmulationStation
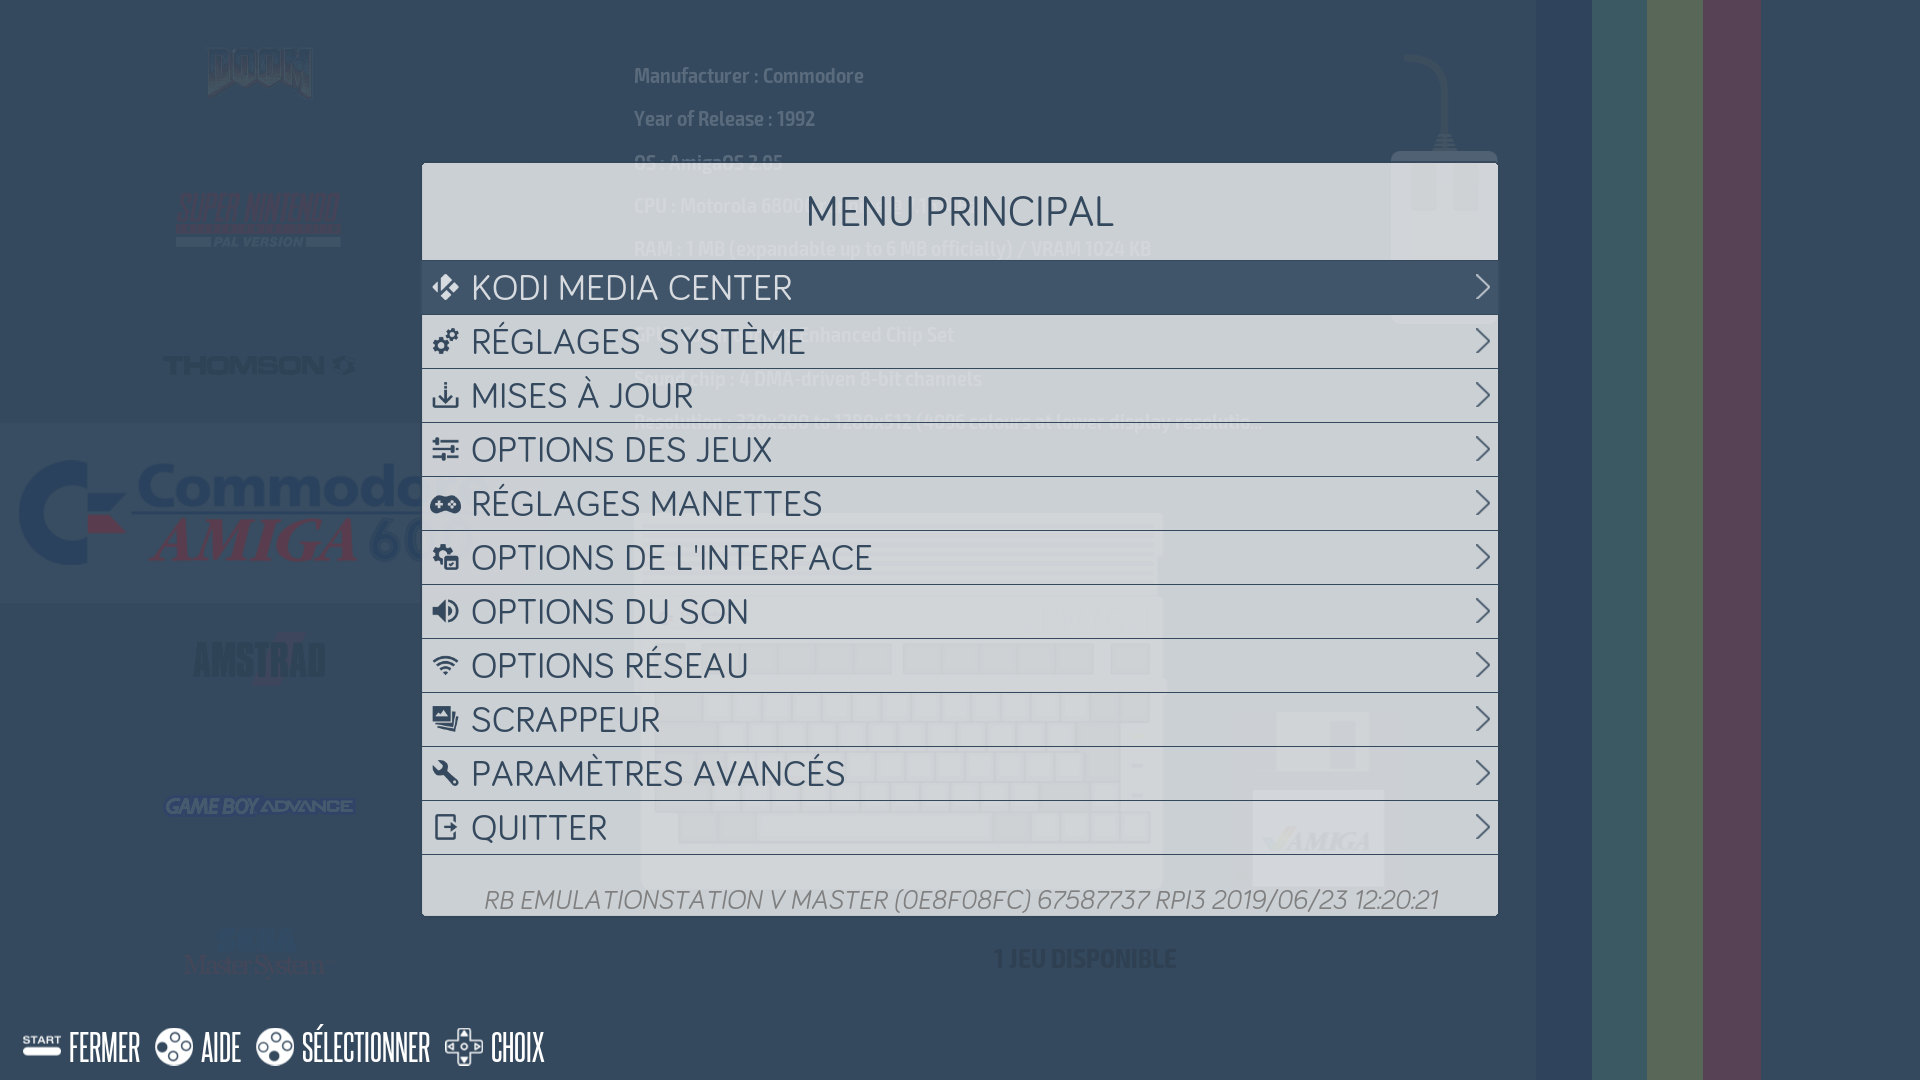
By pressing the START button, you will be able to change some of your Recalbox settings.

¶ Kodi Media Center
- Allows you to start Kodi Media Center (formerly known as
XBMC).
You can start Kodi from the Home screen by pressing the X button on your controller.
To quit Kodi, select QUIT in the program, and you will be back in EmulationStation.
Controllers are supported in Kodi. But if you prefer, you can also use HDMI-CEC (allows you to use your TV remote control to navigate Kodi) or a smartphone remote control app.
For more information about Kodi, you can check its tutorials:
Kodi Media Center
Using an infrared remote control
¶ System Settings
You will access your Recalbox information.
- Version: the version of Recalbox currently installed.
- Disk usage: the amount of storage space used/available.
- Storage device: lists the available storage media:
- Internal share partition (1st hard drive used by the system for the first boot).
- Any external storage (all hard drives and other USB keys detected).
- Language: the menu language selection.
- Keyboard : the type of keyboard you want to use.
¶ Updates
This menu allows you to activate or not the updates and to choose if you want to install only a stable version or also the beta versions of Recalbox.
- Check updates : allows you to check if an update exists.
- Available update: tells you if an update is available.
- Update changelog: Allows you to see the contents of the update.
- Start update: allows you to start the update process.
¶ Game Settings
This menu offers the following settings:
- Game ratio :
- Auto
- RetroArch config
- Core Provided
- Do not set
- Square Pixel
- RetroArch custom
- 1/1
- 16/10
- 16/15
- 16/9
- 19/12
- 19/14
- 2/1
- 21/9
- 3/2
- 3/4
- 30/17
- 32/9
- 4/1
- 4/3
- 5/4
- 6/5
- 7/9
- 8/3
- 8/7
- 9/16
- Smooth games : allows you to give a small blur effect to the pixels so that it looks better on our modern TVs.
- Rewind: allows you to rewind in time during your game.
It can slow down some emulators (PS1, Dreamcast, ...) if you activate it by default on these emulators.
You can enable it only for some emulators via the Advanced settings menu.
- Save/Load Auto : allows you to resume a game where you left it when you quit.
- Press twice to quit game : allows you to confirm that you want to quit the current game.
- Integer scale (pixel perfect): displays the games in their original resolution.
- Shaders : allows you to apply a filter to your game image to give it a special effect like a more retro image.
- Predefined shaders: you can easily configure shaders for different systems:
- The scanlines shaders enable scanlines on all systems in order to get a CRT-like rendering.
- The retro shaders are a pack of shaders, corresponding to the best shader to apply to each system. The shaders in this pack are chosen by the community and will bring you the closest gaming experience to the original for each system!
For more information, you can consult the tutorial [Shader configuration] (./../../tutorials/games/generalities/shaders-configuration).
You can also change the shader during the game, using your controller. Use the Special Commands
Hotkey+R2orHotkey+L2to see the next or previous shader displayed.
- Retroachievements Settings: allows you to set Retroachievements (Equivalent to achievements/trophies but for older consoles).
- NetPlay Settings: allows you to set up NetPlay (online game).
- Hide preinstalled games: allows you to hide pre-installed games from your system.
¶ Controller Settings
This is where you can configure your controllers.
- Configure a controller: allows you to set the buttons of one of your controllers.
- Pair a Bluetooth Controller: allows you to associate a wireless controller with your Recalbox.
- Forget Bluetooth Controllers: allows you to unlink all wireless controllers.
- Driver: allows you to define the driver to use with your controller. You don't have to touch it as long as your controller is working.
¶ UI Options
This menu provides access to the interface settings.
- Screensaver: allows you to change the screen saver with different options.
- Clock in Menu: allows you to display the current time in EmulationStation menus.
- On-screen Help: allows you to display a help popup at the top right of your screen for each option by pressing the
Ybutton. - Popup Settings: allows you to change the options for the music and NetPlay help popups.
Update popups are not configurable.
- Quick system select : allows you to switch from one system to another with the right or left keys in the game lists.
- Theme : choice of different themes created by the community (these new themes are not available by default with Recalbox).
- Theme configuration : some of the installed themes have configuration options.
- Update game lists : if you have added or deleted a game, you have to update the game list for your changes to take effect.
- Swap Validate/Cancel buttons: Reverse the Enter and Cancel buttons on your controllers.
¶ Sound Settings
This menu gives you the following options:
- System Volume: adjust the volume of the entire system.
- Audio Mode: choose which sounds you want to hear in EmulationStation.
- Output device: select the audio output
- VC4-HDMI-0 - HDMI/DISPLAYPORT
- HEADPHONES - ANALOG OUTPUT
Other audio outputs can be listed, so you can see what you like.
¶ Network Settings
This menu offers the following options:
- Status : displays whether you are connected or not.
- IP address: allows you to obtain the IP address of your Recalbox.
- Enable wifi: allows you to enable or disable wifi.
- Wifi ssid: allows you to indicate the name of your wifi network.
- Wifi key: allows you to enter your wifi password.
- Hostname : allows you to enter your Recalbox hostname.
¶ Scraper
For each game, you can get information (cover art, summary, etc...) which will be displayed in the game selection menu of EmulationStation.
Press START and go to SCRAPER. Then follow the instructions on the screen. You can find more info about the internal scraper here.
¶ Advanced Settings
- Overclock : allows to set the overclock.
- NONE
- HIGH
- TURBO
- EXTREM
- NOLIMIT
TURBO and EXTREM settings can cause irreversible damage to the Raspberry Pi if they are not done in the right conditions (heat dissipation, ventilation, etc.). Your hardware warranty may be voided.
- Boot settings : allows you to define some boot parameters.
- Virtual systems : allows you to display virtual systems in the system list.
- Hide adult games in all systems: hide games that are marked as adult. Works after your games have been scraped.
- Advanced emulator configuration: allows you to configure emulator options independently of each other.
- Kodi settings: allows you to enable/disable Kodi, to automatically start Kodi when Recalbox starts or to enable the shortcut to start Kodi from the system list.
- Security: allows you to strengthen the security of Recalbox and to change the root password.
- Overscan : allows to help you if you have black bands or if the image is bigger than the screen.
- Show framerate: show the frame rate in EmulationStation and games.
- Recalbox Manager: enable or disable the Recalbox Web Manager.
- Reset to factory settings: reset your Recalbox to the same state as if it were a new installation. This does not affect your personal data at all.
¶ Bios Checking
This menu allows you to manage the bios required by some of the Recalbox emulators. You can get more information on this page.
¶ Open-source license
This menu will show you the license of Recalbox.
¶ Quit
This menu allows you to shut down Recalbox.
- Shutdown system
- Fast shutdown system
- Restart system
¶ Controls
¶ The controls in the interface:
- `A → Select
B→ BackY→ Favorites in games lists, launch game clips in systems listX→ Start Kodi or display Netplay lobby in systems listStart→ MenuSelect→ Quit options in systems screen, show system favorites games in games listsR→ Next letter group in games lists, open Search feature in systems listL→ Previous letter group in games lists
¶ Favorites
You can set a game as a favorite by pressing the Y key on the game. The game will then be placed at the top of the list with a ☆ in front of its name.
The system must be shut down cleanly using the EmulationStation menu so that the list of favorite games is saved and you can find it the next time you start up.