¶ Introduction
You can use an NVMe device with Recalbox to store your roms via an M.2 hat. This device will behave like an internal hard disk.
You must have your NVMe media formatted in exFAT. No formatting will done from Recalbox.
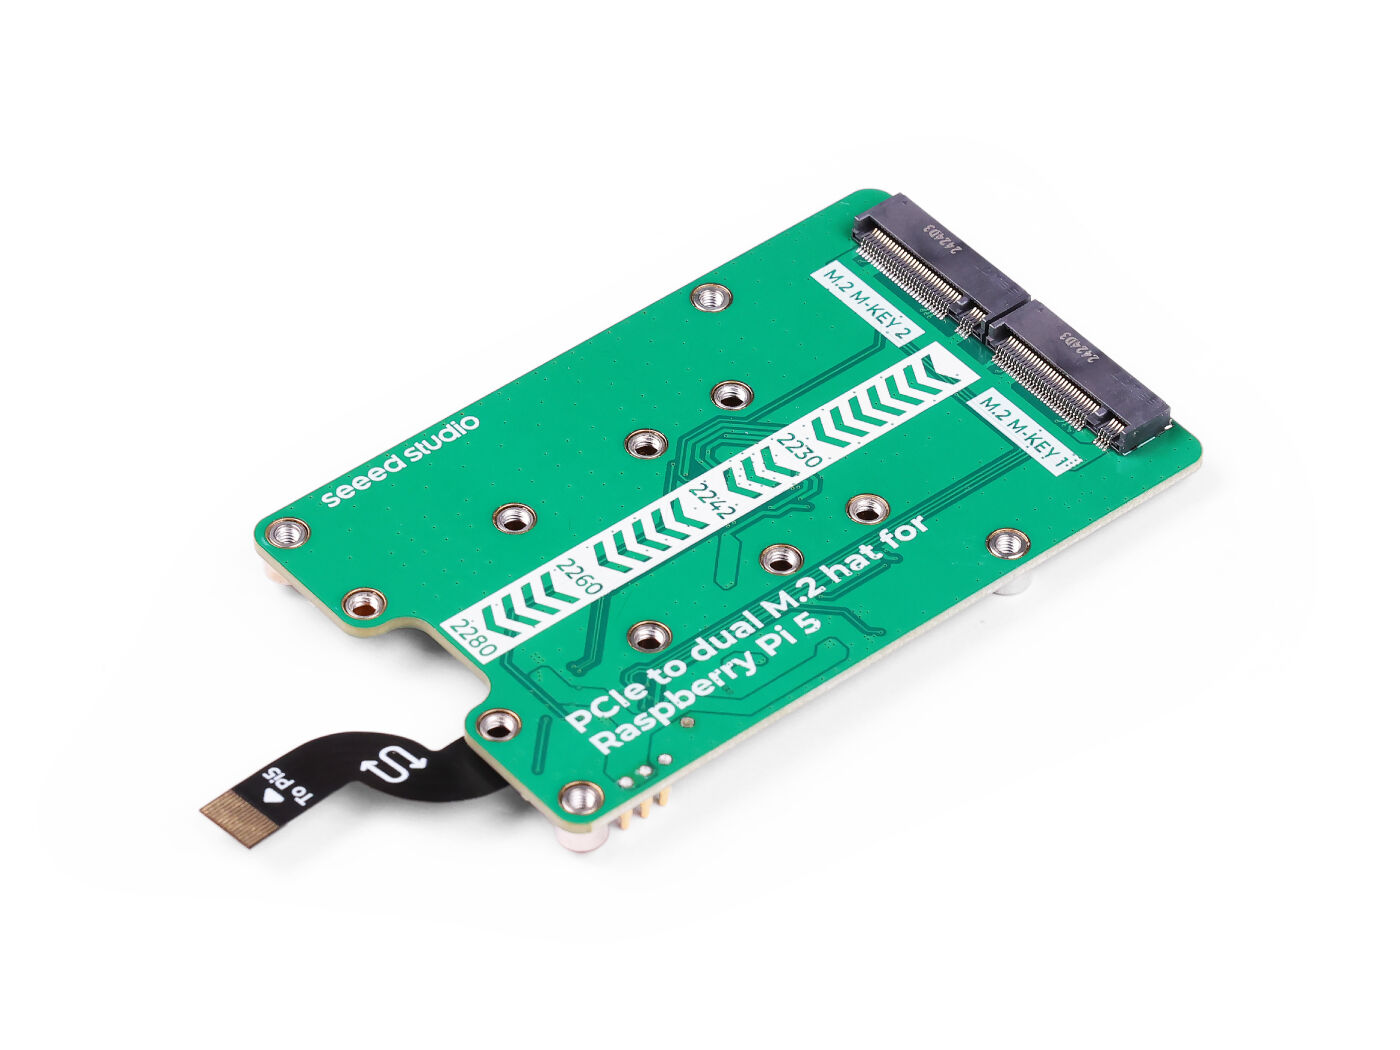
There are several brands of M.2 hat, some of them only accept a single NVMe and others can accept 2. This tutorial is based on an M.2 hat that accepts 2 NVMe medias but has only one NVMe connected.
This tutorial is mainly for the Raspberry Pi 5 and may be suitable for PC hard drives.
¶ Processing
Follow the steps below and you will be able to use your NVMe as an additional roms storage media.
¶ Update the bootloader
First of all, you need to update the bootloader of your Raspberry Pi 5 following this tutorial
¶ PCI Express port configuration
The PCI Express 3 standard is compatible with the Raspberry Pi 5, and allows double read/write speed on compatible NVMe devices.
However, you need to activate it manually. To do this, go to the recalbox-user-config.txt file on the RECALBOX partition or using the SSH command vi /boot/recalbox-user-config.txt
Add the following line to the beginning of the file:
dtparam=pciex1_gen=3
¶ Create the access folder
You need to create a folder in your share to access the contents of your NVMe. To do this, use the following SSH command:
mkdir -p /recalbox/share/externals/hdd0
¶ Edit recalbox-boot.conf file
You need to add a line to the recalbox-boot.conf file in 2 different ways:
¶ If your SD card is in your PC
In the drive named RECALBOX, open the recalbox-boot.conf file and add the following line on any empty line:
sharenetwork_cmd=mount /dev/nvme0n1p2 /recalbox/share/externals/hdd0
¶ If your Recalbox is switched on
- Connect via SSH
- Allow the boot partition to be writable.
- Open the
/boot/recalbox-boot.conffile and add the following line to any empty line:
sharenetwork_cmd=mount /dev/nvme0n1p2 /recalbox/share/externals/hdd0
¶ Edit smb.conf file
Here, you need to modify the /etc/samba/smb.conf file from your switched-on Recalbox:
- Connect via SSH
- Allow the system partition to be writeable.
- Open the
/etc/samba/smb.conffile and add the following lines at the end of the file:
[nvme]
comment = Recalbox user data
path = /recalbox/share/externals/hdd0
writeable = yes
guest ok = yes
create mask = 0644
directory mask = 0755
force user = root
veto files = /._*/.DS_Store/
delete veto files = yes
¶ Testing modifications
Start or restart your Recalbox and look at:
- If you have the
nvmefolder in the network share - If your NVMe is listed in the interface menus (
START>SYSTEM SETTINGS>STORAGE MEDIA) - Via SSH, with the
mountcommand, your NVMe should appear:
# mount
...
/dev/nvme0n1p2 on /recalbox/share/externals/hdd0 type exfat (rw,relatime,fmask=0022,dmark=0022,iocharset=utf8,errors=remount-ro)
...
¶ What should I do if it doesn't work?
If your NVMe is not displayed, you can check the name of your internal NVMe with this SSH command:
blkid
The result should look something like this:
/dev/nvme0n1p1: LABEL="EFI" UUID="67E3-17ED" TYPE="vfat"
/dev/nvme0n1p2: LABEL="NVMe 256G" UUID="66E9-99AE" TYPE="exfat"
/dev/mmcblk0p1: LABEL="RECALBOX" UUID="2A19-621E" TYPE="vfat"
/dev/mmcblk0p2: LABEL="SHARE" UUID="4140-70D7" TYPE="exfat"
/dev/mmcblk0p3: LABEL="OVERLAY" UUID="007f6e1f-ef13-4abd-9a69-1b70d8317e3b" TYPE="ext4"
Here, nvme0n1p1 is a small partition which can be created by some operating systems which is totally useless and too small for us, hence the use of nvme0n1p2 in the rest of the tutorial.
¶ Notes
¶ Set NVMe to read-only
You can make your NVMe read-only if you don't want Recalbox to modify the files with this SSH command:
mount -o ro /dev/<your_nvme> /recalbox/share/externals/hdd0
¶ NVMe formatted in NTFS
It is very much not recommended to have your NVMe formatted in NTFS. If, however, you wish to have your NVMe usable in NTFS, it is VERY STRONGLY recommended that you mount them in read-only mode. The NTFS format is unfortunately not yet well supported with a Linux environment such as Recalbox, which may prevent you from being able to use your NVMe to write data to it.